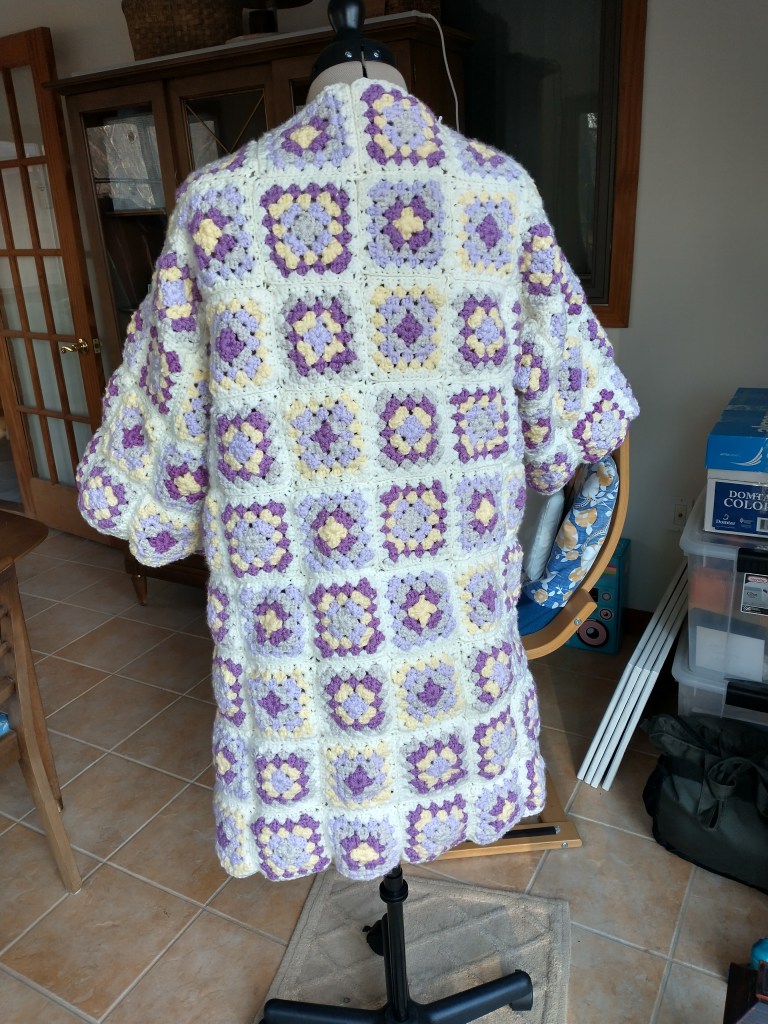
After completing my first granny square, it only took me 6 months to finish my crocheted coat cardigan. I wanted to create a long coat, reaching to my knees, something open and chunky, and especially cozy to wear with spring colors.
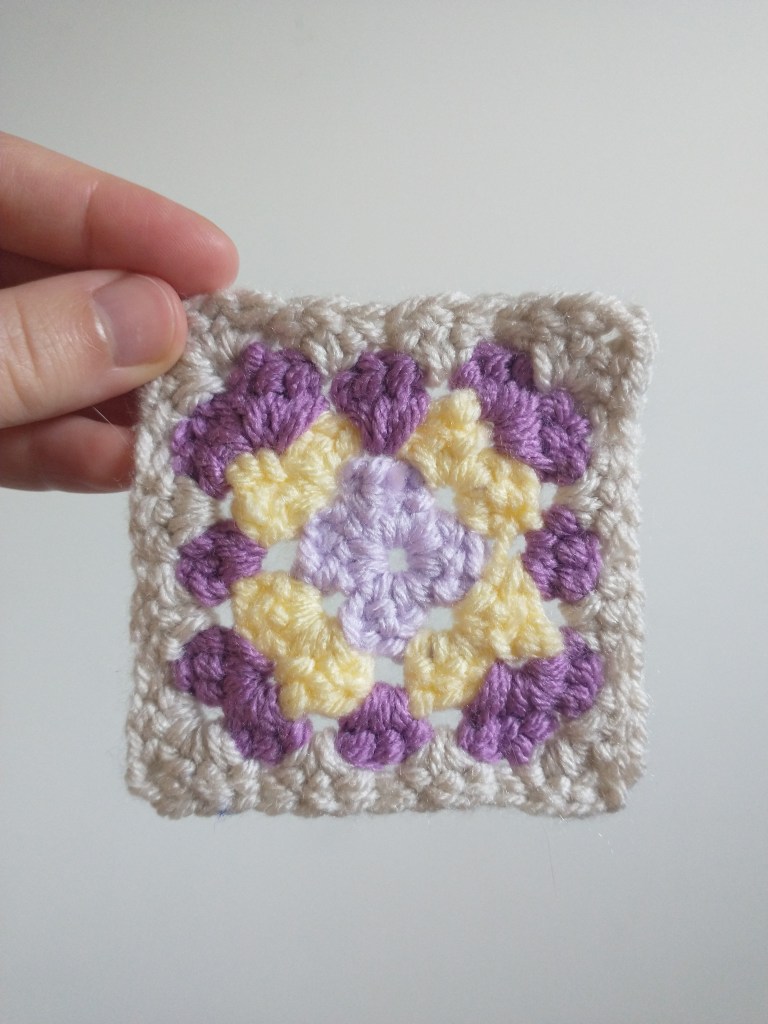
I used nautikrallcrochet‘s YouTube tutorial How to Crochet the Perfect Granny Square (with no twisting or swirling) to crochet my granny squares. I found this tutorial very helpful and easy to follow, since I had to make over 100 of these! The best advice was to tie in your ends as you go. Since I was using 4 different colors for each granny square, each color resulted in two ends. It was much less frustrating for me to use a needle and thread to wrangle the yarn and hide it into the square; this is my preferred method versus crocheting it in. This was just faster for me and created a neat, tight finish.
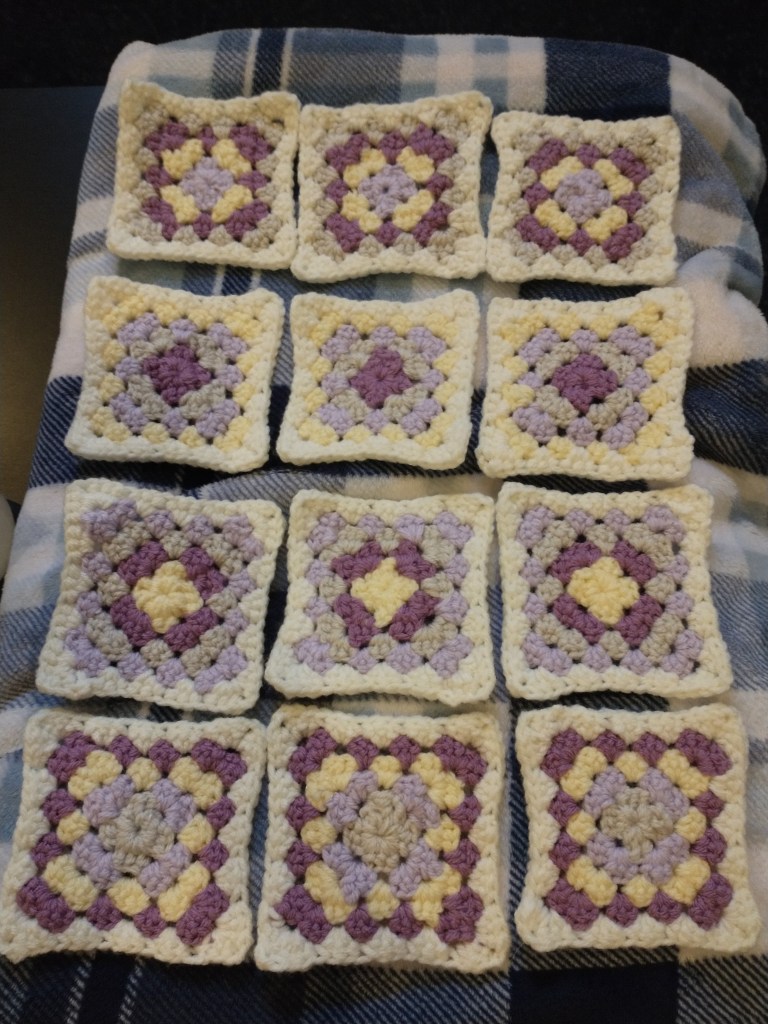
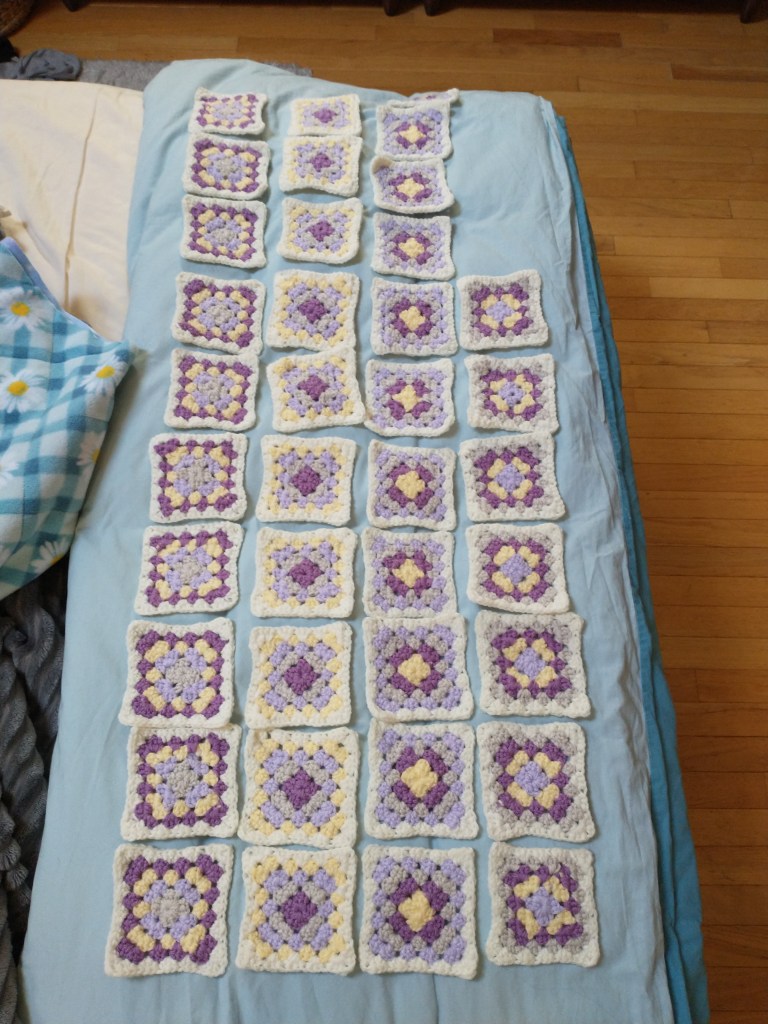
I have all these squares, now what?
When I was ready to start constructing the shape of my garment by connecting squares, I used TL Yarn Crafts‘ Youtube tutorial HOW TO JOIN CROCHET SQUARES AND SEAMS [4 Easy Crochet Seaming Techniques for Beginners] I used the single crochet seam technique. I really liked how this created a seamless binding. I would connect a row of squares using the single crochet seam technique and would hold it up against my body for desired length and count squares from there.
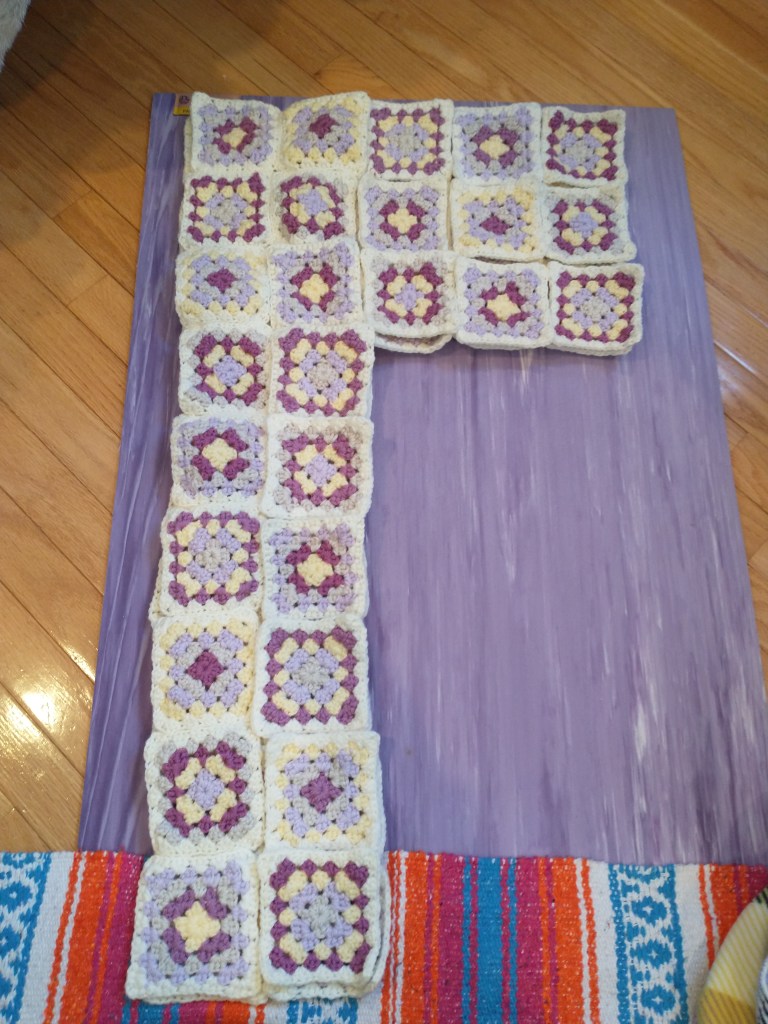
My biggest concern were the sleeves. I did not want tight armpits for this coat cardigan. I wanted it to have a bit of room. Because of the size of my granny square, measuring 3.5 x 3.5 inches, I chose to make my sleeves 3 rows wide. This ended up with a more voluminous sleeve, adding a stylish flare silhouette.
completed crocheted coat cardigan!

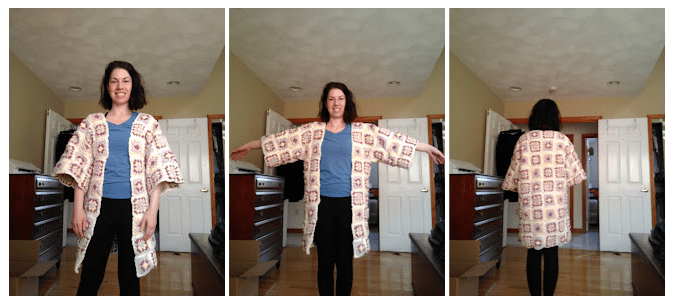
Finally can wear my cozy crocheted coat cardigan for spring! Super cozy with spring colors!
Now onto the next project…
Happy Spring!

Leave a comment